The battery is one of the most important components in a laptop and the most prone to failure. Incorrect usage habits will drastically shorten the battery life of our laptops. Therefore, it is important to check the battery health of your system every once in a while so you can catch early warning signs of battery failure and replace it as soon as possible. Thankfully, with Windows 10 features, checking your laptop's battery health is very easy.
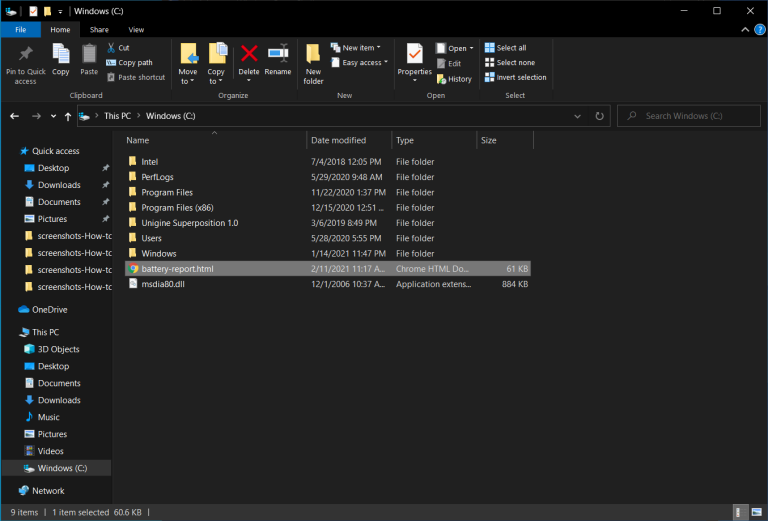
Following either set of instructions above generates a report containing a ton of information on your laptop, including information about your battery health. This report will be an HTML file, so all you have to do is double-click it to view the contents.
You can find the information about your battery health by scrolling down on the report to the Battery Information section. This section will include subsections with information on Design Capacity, Full Charge Capacity, and Cycle Count.
It also includes a subsection called Battery Life Estimates, which will give you a clearer picture of how long your laptop battery will last now on a full charge, along with information on how long it would last on a full charge when it was new. This information should help you better understand where your battery is in its life cycle.
SALE OF BATTERIES